I bought a new cookbook while in NYC, and smiled as I read these opening words:
“… we want you to use this book. And, use it hard. Don’t be precious. It may be new and pristine right now, but we hope it doesn’t stay that way. Our own most beloved books are dog-eared and tattered. Dive in, get dirty…”
I love a splattered, dog-eared cookbook. Splatters mean the book is right there on the counter, nestled in the midst of it all – flour spilling from a measuring cup. Buttermilk rings on the counter. Dusty cocoa on the forehead, spread by the back of a hand. An apron is on, fingers are being licked, and a telephone handle is resting between an ear and a shoulder. A child runs through the kitchen and the telephone chord gets twisted around the waist.
It’s a vintage scene I’m creating, but that’s what happens when you crack open a well-used cookbook – the layers of ingredients, caked-on over time, pop out as memories. A testament that this recipe is a good one.
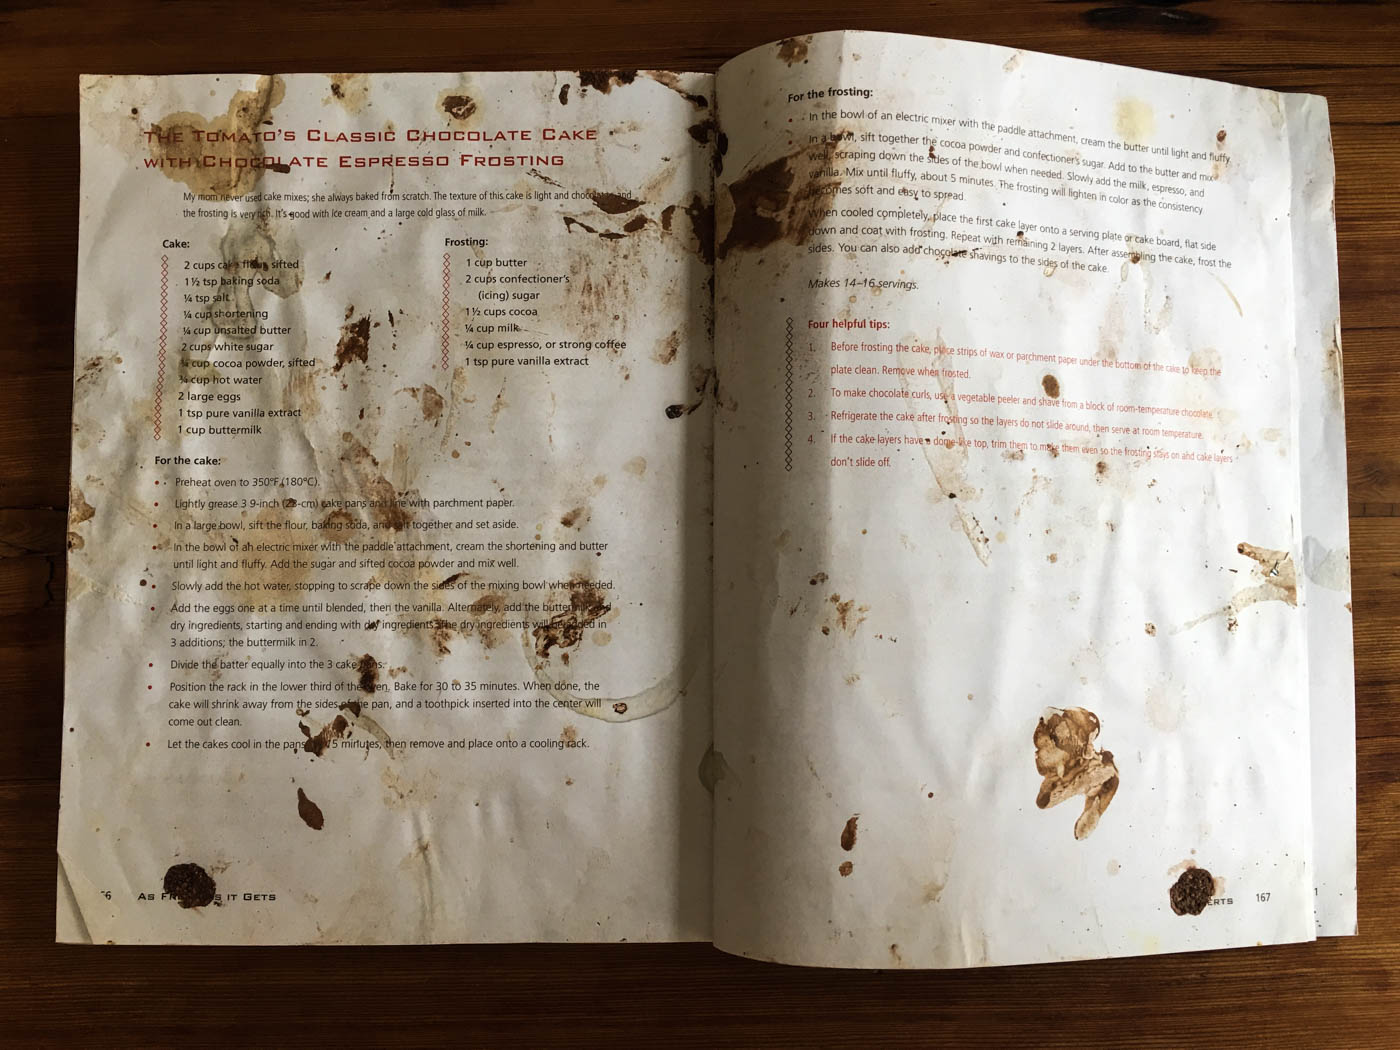
The above image is from my sister Lee’s Tomato Café cookbook – a now closed but much loved Vancouver neighbourhood restaurant. The café was famous for its chocolate cake, and judging by the splatters on this page, the recipe is a winner.
When Lee cracks open this page all the birthday parties fall out. Kids, husband, nieces, nephews, friends, parents and in-laws. Her sister-in-law Megan gave her the book while living in Vancouver; it was her favourite place to eat. So memories of Megan, who now lives in Perth, Australia, also fall when she cracks it open. I think that big splat, bottom right, is just for her.
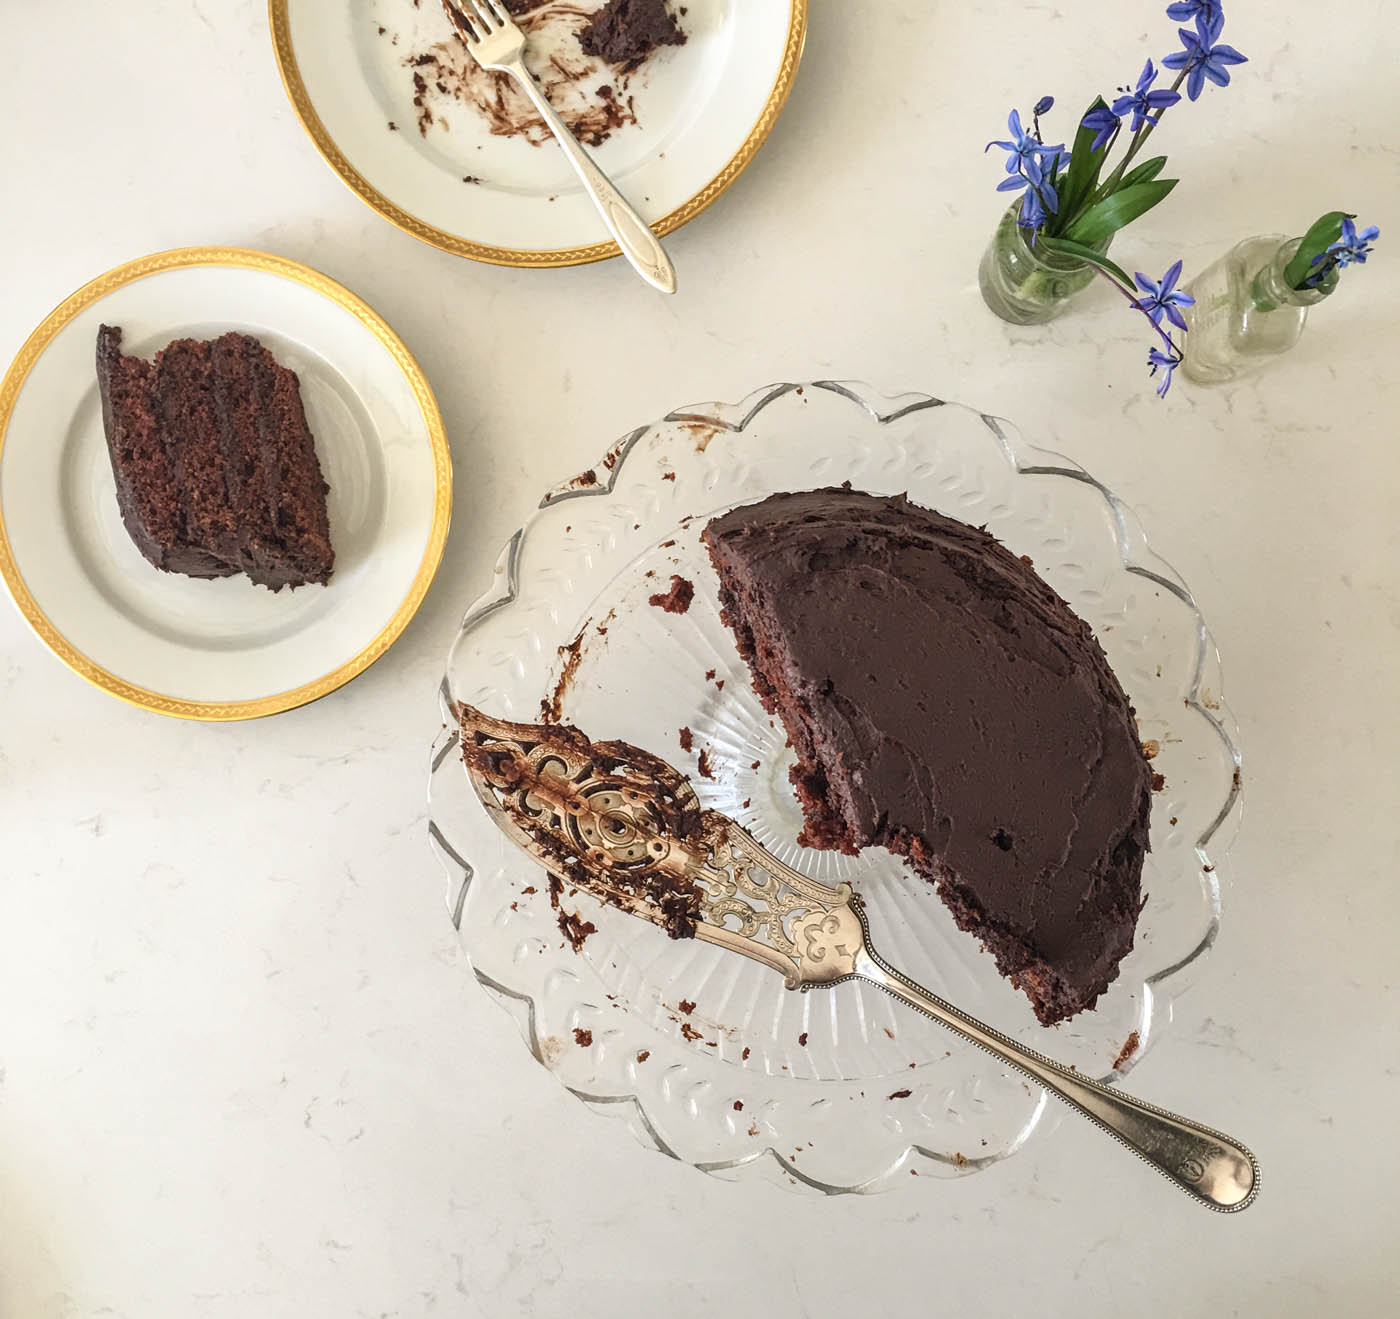
Last week I hosted a party to celebrate a collection of missed birthdays (when you make a bunch of big salads, day drink a little and serve a big cake, birthday forgetfulness seems to slip away). Of course I served the Tomato Café cake. It’s now on request, and thankfully my sister lives around the corner to lend me her book. I could work off this photograph of the recipe, but a splatter of chocolate on my iPhone isn’t any fun. With just one wipe the memory is lost forever.
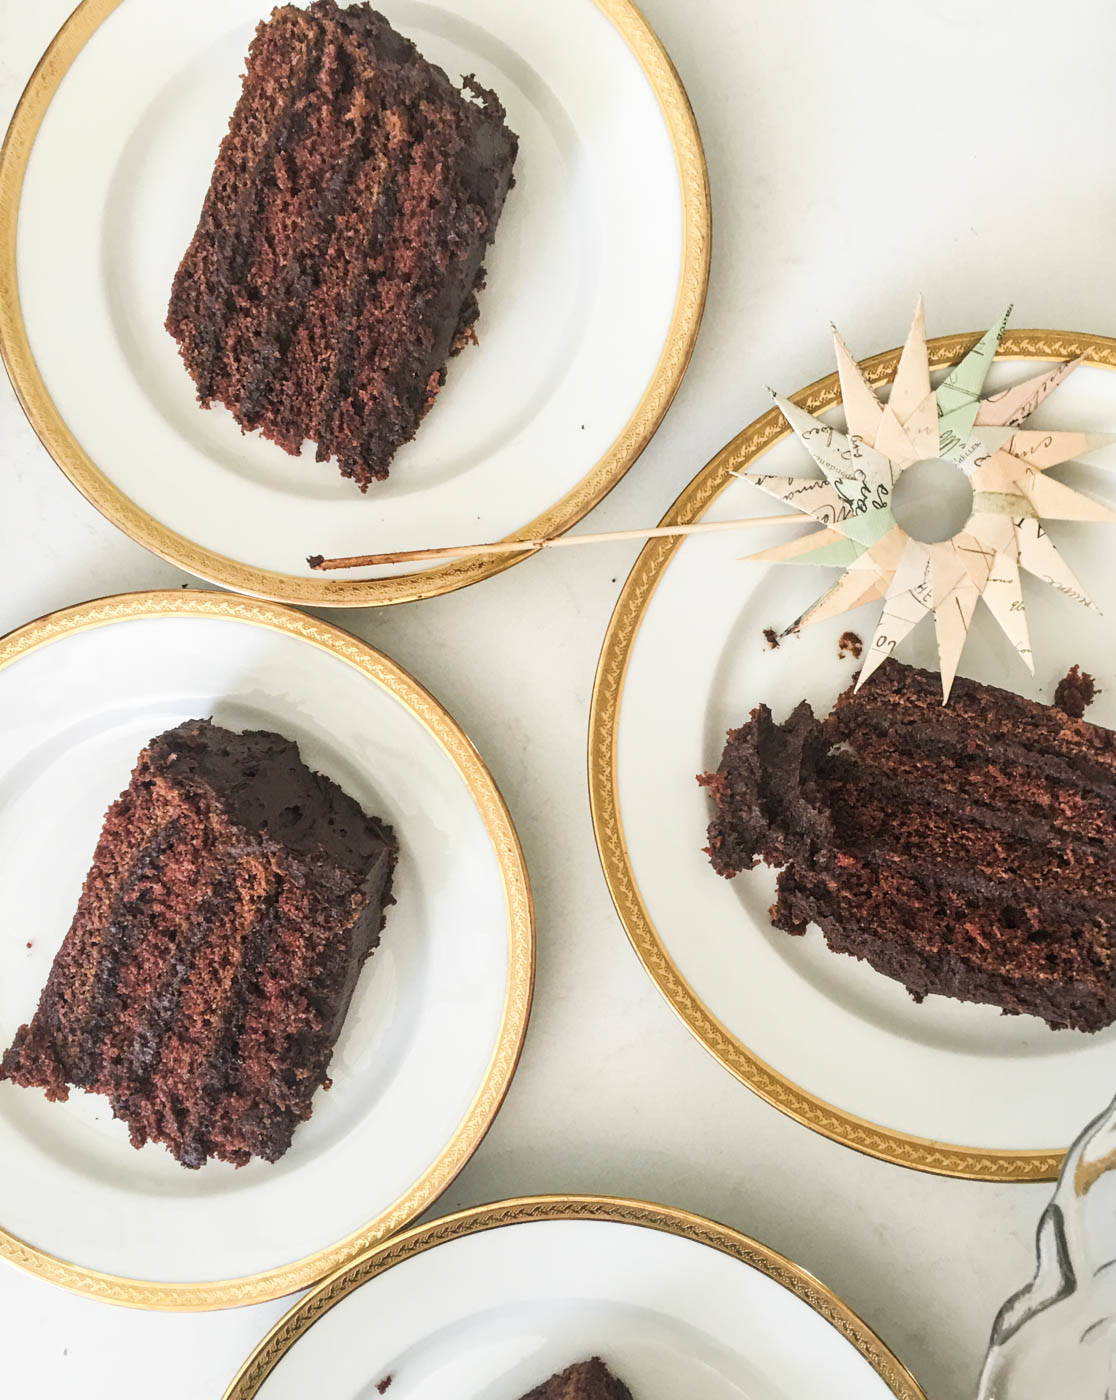
It’s a straightforward recipe – a moist buttermilk and cocoa cake frosted with chocolate buttercream with just a splash of coffee. But this time I decided to do something radical. It calls for three cake tins, and I just had two. So I made two cakes, cut each in half, then as they were cooling, I brushed a coffee syrup onto the cut side of the cakes. I was inspired by that golden creation I brought back from NYC. I can’t begin to recreate that cake, but I do know the layers were ‘soaked’ in elderflower syrup. The result was a moist, flavourful cake that wasn’t wet, sticky or too sweet. It was just right.
To be truthful, I was also urged on by my chef friend Dennis who called as the cakes were cooling. How perfect! a live tutorial on soaking cakes. “Just make a syrup – 1 to 1, and brush it on,” he said, almost shrugging through the phone. “I’d add coffee to this one, if the icing has that flavour anyway – the secret is to use Nescafé espresso powder. Just stir it in with the sugar. It’s so easy.”
So that’s what I did. Who knew what it would taste like, but I trusted Dennis’ shrug.
He was right. That little coffee-flavoured syrup took this birthday cake to another level. The magical day is marked on the lefthand side of the recipe, somewhere up near the title. That was when the spatula catapulted from the mixing bowl when my eight year old activated the mixer.
Use your cookbooks. Use them hard.
The Tomato’s Classic Chocolate Cake with Chocolate Espresso Frosting – with a few slight adaptions
Cake:
2 cups flour, sifted
1 1 2/ tsp baking soda
1/4 tsp salt
1/2 cup unsalted butter, softened
2 cups white sugar
3/4 cup cocoa powder, sifted
3/4 cup hot water
2 large eggs
1 tsp vanilla
1 cup buttermilk
Frosting:
1 cup butter
2 cups icing sugar
1 1/2 cups cocoa
1/4 cup milk
1 tbsp espresso syrup
1 tsp vanilla
Syrup:
1/2 cup white sugar
1/2 cup water
1 tbsp instant espresso powder
For the cake:
Preheat oven to 350 F. Lightly grease 2 cake pans and line with parchment paper.
In a large bowl, sift the flour, baking soda and salt together and set aside. In the bowl of an electric mixer with the paddle attachment, cream the butter until light and fluffy. Add the sugar and sifted cocoa powder and mix well.
Slowly add the hot water, stopping to scrape down the sides of the mixing bowl when needed. Add the eggs one at a time until blended, then add the vanilla.
Alternatively add the buttermilk with the dry ingredients starting and ending with the dry ingredients. The dry ingredients will be added in 3 additions, the buttermilk in 2.
Divide the batter evenly between the two pans.
Position the rack in the lower third of the oven. Bake for 30-35 minutes. When done, the cakes will shrink away from the sides of the pan and a toothpick inserted into the centre will come out clean.
Let the cakes cool in the pans for 15 minutes, then remove and place onto a cooling rack. Meanwhile, make the coffee syrup.
For the syrup:
Combine water and sugar in a small saucepan over medium heat. Add espresso powder and stir until sugar and coffee dissolves. Leave to simmer for a few minutes, then remove from heat to cool a little.
Slice the cooled cakes in half horizontally and lay them, cut-side up. Dip a pastry brush into the syrup and brush onto the cakes. If not icing immediately, put cut sides back together, wrap cakes like two sandwiches and chill until needed.
For the Frosting:
In the bowl of an electric mixer with the paddle attachment, cream the butter until light and fluffy.
In a bowl sift together cocoa powder and icing sugar. Add to the butter and mix well, scraping down the sides of the bowl when needed. Slowly add the milk, 1 tbsp espresso syrup and vanilla. Mix until fluffy, about 5 minutes. The frosting will lighten in colour as the consistency becomes soft and easy to spread.
When ready to serve, place the bottom layer of the cake on a cake plate, flat, uncut side down. Coat with frosting, (keeping in mind, generosity-wise, you have 3 more layers to go). Repeat with remaining 3 layers, then frost the top and sides of the cake.
Serves 14-16