 What to do with all those turnips?
Some of you, far far away, are experiencing summer right now. Gardens are full. Queen Anne’s Lace is self seeding. Over here on the East Coast of Canada, however, winter is in full swing. The ilex berries have blown from their branches; my window boxes look like skinny skeletons wrapped in a shrug of aged juniper. And root vegetables? They’re a-plenty.
My friend Louise recently asked me what to do with a turnip bounty – she had eight of them, and big ones. I had to stop and think. My husband likes them, but they don’t like him, so we rarely have turnips around. But when we do, and I’m alone, I make my grandmother’s beef soup. My mom has the recipe written on the inside cover of her Five Rose’s cookbook. The cookbook is long gone, but the cover is safe and sound. I’ve also included this recipe in my (almost but not quite out of print) cookbook Soup! This is what my grandmother said to do: Start by putting beef bones in a soup pot. Cover the bones with cold water and let them sit there for ‘a while’. Then, bring the water to a boil, turn the heat down and simmer for 1 hour. Add salt (probably about 1 teaspoon) and lots of black pepper. “Cut fine” 2 onions, 2 potatoes, 1 carrot, 1 turnip and a few sticks of celery. Add them to the stock and simmer for 3 hours. It’s so flavourful and good.
My aunt likes to mash turnips with potatoes, as they do here. If your turnips have greens attached, add them to the mash as well. If not, kale will do the trick. It’s so nice to have ribbons of green weaving through the mash.
Now my aunt’s friend Gloria, she makes art with her turnips. She cuts them in half, carves a design on the cut side, brushes paint onto the design, then block prints to her heart’s content. Gloria says turnips make the best stamps – they are drier than a potato. Who knew?
The other day school was cancelled. Ice was falling from the sky and the roads were as slick as skating rinks.
My kids celebrated as my ‘to do’ list slipped through my fingers.
In need of inspiration, I called my aunt Sandra (who likes to mash turnips with her potatoes). You might remember Sandra from previous stories and episode ten of The Food Podcast. She is always filled with ideas for storm day art projects; I remember making block prints from vegetables with Sandra when I was little. We covered sheets of brown paper with stars and hearts using potato stamps. The activity warms my ‘use what you have’ heart.
Sandra said she had a busy day ahead, but she’d be happy to set up a vegetable print workshop in her studio that afternoon between 2-3pm. I signed up.
Now this is where my parenting is questionable. By 2pm I had farmed my kids out on playdates and somehow managed to be the only student at the workshop. Selfish with a touch of brilliance, I’d say.
When I arrived at Sandra’s, her friend Gloria (who makes stamps from turnips) was there. Gloria is also a textile artist, a maker of jewelry and a fabulous teacher. She had heard about the short-but-sweet printing session and decided to come along. I had the dream team as teachers, together in one room.
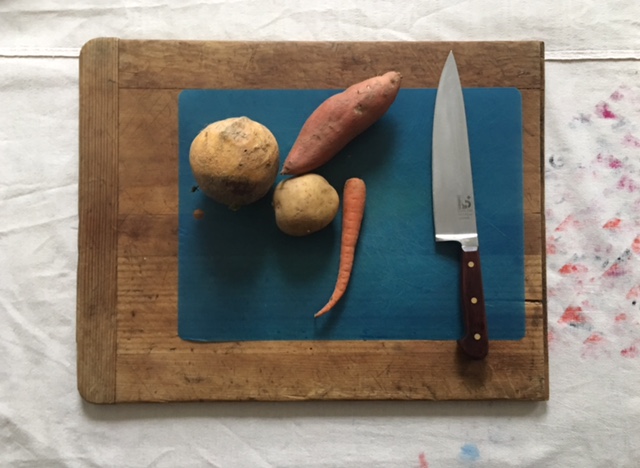
Gloria and Sandra had covered the table with a drop cloth. On top of the drop cloth sat: A Cutting board. Cutting mat. Paper cutters and a mat knife. Newspapers. Paints squeezed out onto tops of yogurt containers. Brushes. Make-up sponges – they’re perfect for blotting paint. A big bowl of water. Cloth rags. Pencils. Paper Towel. Paper. Root vegetables. Oatmeal Cookies. A lit candle. Peppermint tea. (Last three optional but important).
“Creating art that looks casual requires organization and precision,” says Gloria.
The first step: cut your vegetable of choice in half and blot it dry with a piece of paper towel. As we know, turnip is inherently drier than potatoes, but it still needs blotting.
Step two: decide what design you want on your vegetable stamp. I suggested stars or hearts, as I had done when I was little. The two artists stared at me blankly then Gloria asked me to leave the room. We were creating original art! I sat down and took out my pencil. I thought if I was using a turnip, I may as well carve a design informed by the stamp itself.
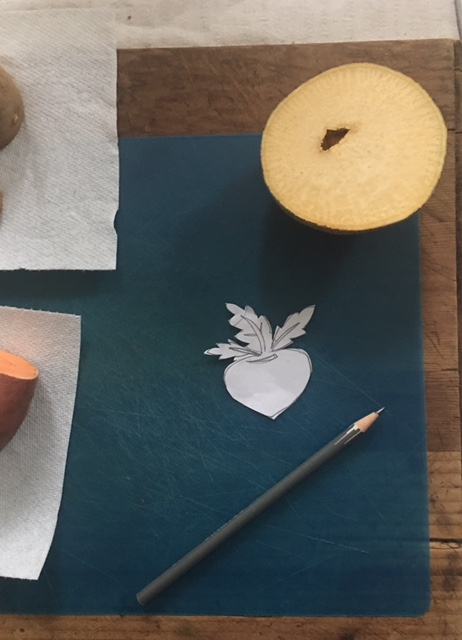
Step three: draw the design on paper first, then cut it out to make sure the design fits on the stamp’s surface. I drew a turnip, complete with leaves. My paper cut-out covered a small hole in the turnip in the middle of the design. I would have to make two stamps – one for the turnip bottom and one for the greens.
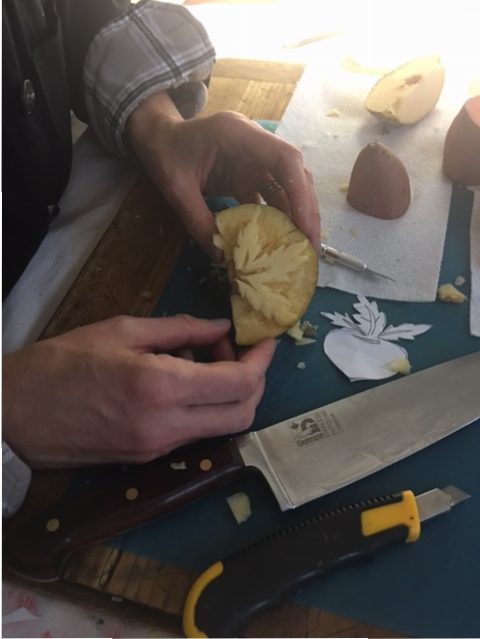
Step four: carve your design. This looks like a marijuana leaf but I swear it’s supposed to be turnip greens.
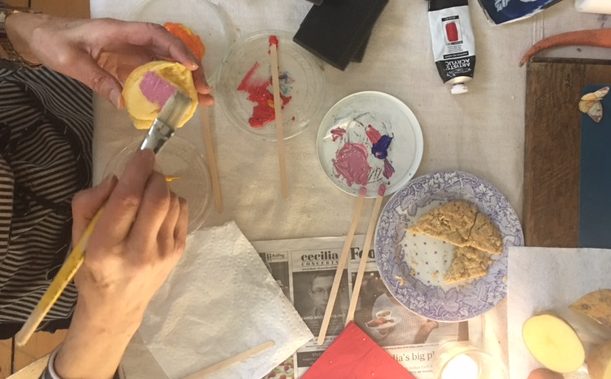
Step five: Have your teacher mix a lovely pink and a yellowy green for you and brush the paint onto the turnip stamps.
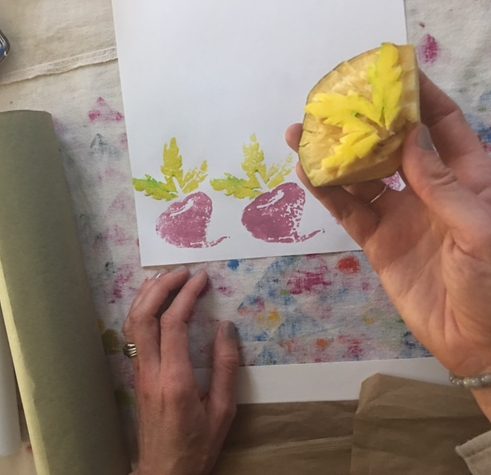
Step six: Start printing! Smoothly paint over the stamp each time and press the stamp firmly onto your paper of choice. Lift the stamp off carefully, starting at one side and peel it up and off, almost like you’re lifting a plastic lid from a container.
Use your block prints as wrapping paper. Or make paper napkins or place cards. Personalize your stationary, or just hang them on your wall.
There’s a lovely scene early on in Poldark where Ross says, “Elizabeth was born to be admired,” to which Demelza replies, “and I was born to pull turnips.” I’m dedicating my turnip art to Demelza.
Yes, celebrate those turnips. Turn them into soup. Mash them with lots of butter, garlic, greens and potatoes. Or if you like them but they don’t like you, turn them into stamps.
Each print will be a little different. That’s what makes them beautiful.